
Animal Craft: Plastic Cup & Empty Can Rhino | Home Learning Art & Craft Project Activity
In this post, I will be sharing a "rhino" craft, this was a craft project that Lauren did in Brightly Beaming Resources' (Step 3: Sound of the Week) home school curriculum for the "rh" sound as in "rhino", Click Here To Find Out Why We Are Doing Homeschooling. This rhino was created using a small disposable plastic cup for the head, empty can for the body and thin cardboard tubes for the legs.

DISCLOSURE: This blog and post contains affiliate links. This means I may earn a commission should you chose to sign up for a program or make a purchase using my link. Thank you so much for your support!
READY FOR KID BEFORE STARTING ACTIVITY ALONG WITH OTHER MATERIALS
* Small disposable plastic cup covered with masking tape for the rhino's head with cuts made in areas where (the horn) and (the ears) will be inserted later. We used a 3.5 ml size salad or sauce cup.
* We used an empty paper can for our rhino's body, if you don't have a paper can, you may use a tin can and cover the whole can with white masking tape.
* Cut horns, ears (small circles), and tail patterns
* Cut thin cardboard tubes (for legs). We used an empty tube from a wallpaper roll.
DONE BY ADULT OR PARENT
NOTE: This craft is a collaboration between parent or caregiver and child and is suitable for kids about 7 and above, you may adapt the process to the skill or ability of the child. You may not finish the craft all at once in a day if you can't but you can work on it day by day or in a series of days until you can finish the whole project.
* Rhino's Head: Take a small disposable plastic cup and cover it with white masking tape, this will allow the child to be able to paint the cup. Make a cut in the areas where the child will insert the horns and ears later.
* Rhino's Body: Take an empty paper can preferably with a size good enough as body for the small plastic cup head, if you're using a paper can with a colored label on top, peel the top layer to reveal the cardboard material underneath. Cover the tin part at the bottom of the can with white masking tape to allow the child to be able to paint it as well. If you don't have a paper can, you may use a tin can. Cover the tin can with white masking tape.

* Rhino's Legs: Take a thin cardboard tube from a paper roll and cut them into short pieces just enough as legs for the rhino. You can also take the cover of an unused book or notebook and roll it into a thin tube.
* Rhino's Tail, Ears & Horns: Take a white heavy weight paper and draw the ears (by tracing a small coin), horns, and tail patterns on it.
* Cut the tail, ears, and horns pattern
* Paint head, body, horn, ears, and tail of rhino
* Decorate/Glue parts and pieces of rhino together
* Add details on rhino
STEP #1: Let the child paint the head, ears, body, tail and legs of the rhino with any choice of paint in dark colors aside from what is shown (example: black, gray or dark brown)

STEP #2: Next, let the child paint the horns with gray paint. After that set all the painted pieces aside to dry for a couple of minutes.

STEP #3: Once the painted pieces are dry, let the child glue the head to the rhino body using hot melt glue with supervision. You can put hot melt glue on the spot and assist your child in gluing the part on it.

STEP #4: Next, let the child insert the horns into the cut made in the the plastic cup earlier.

STEP #5: Next, make a small fold below the round ear pattern and let the child insert it into the cut that was made on the plastic cup earlier.

STEP #6: Then, let the child tape the tail at the end of the rhino's body.

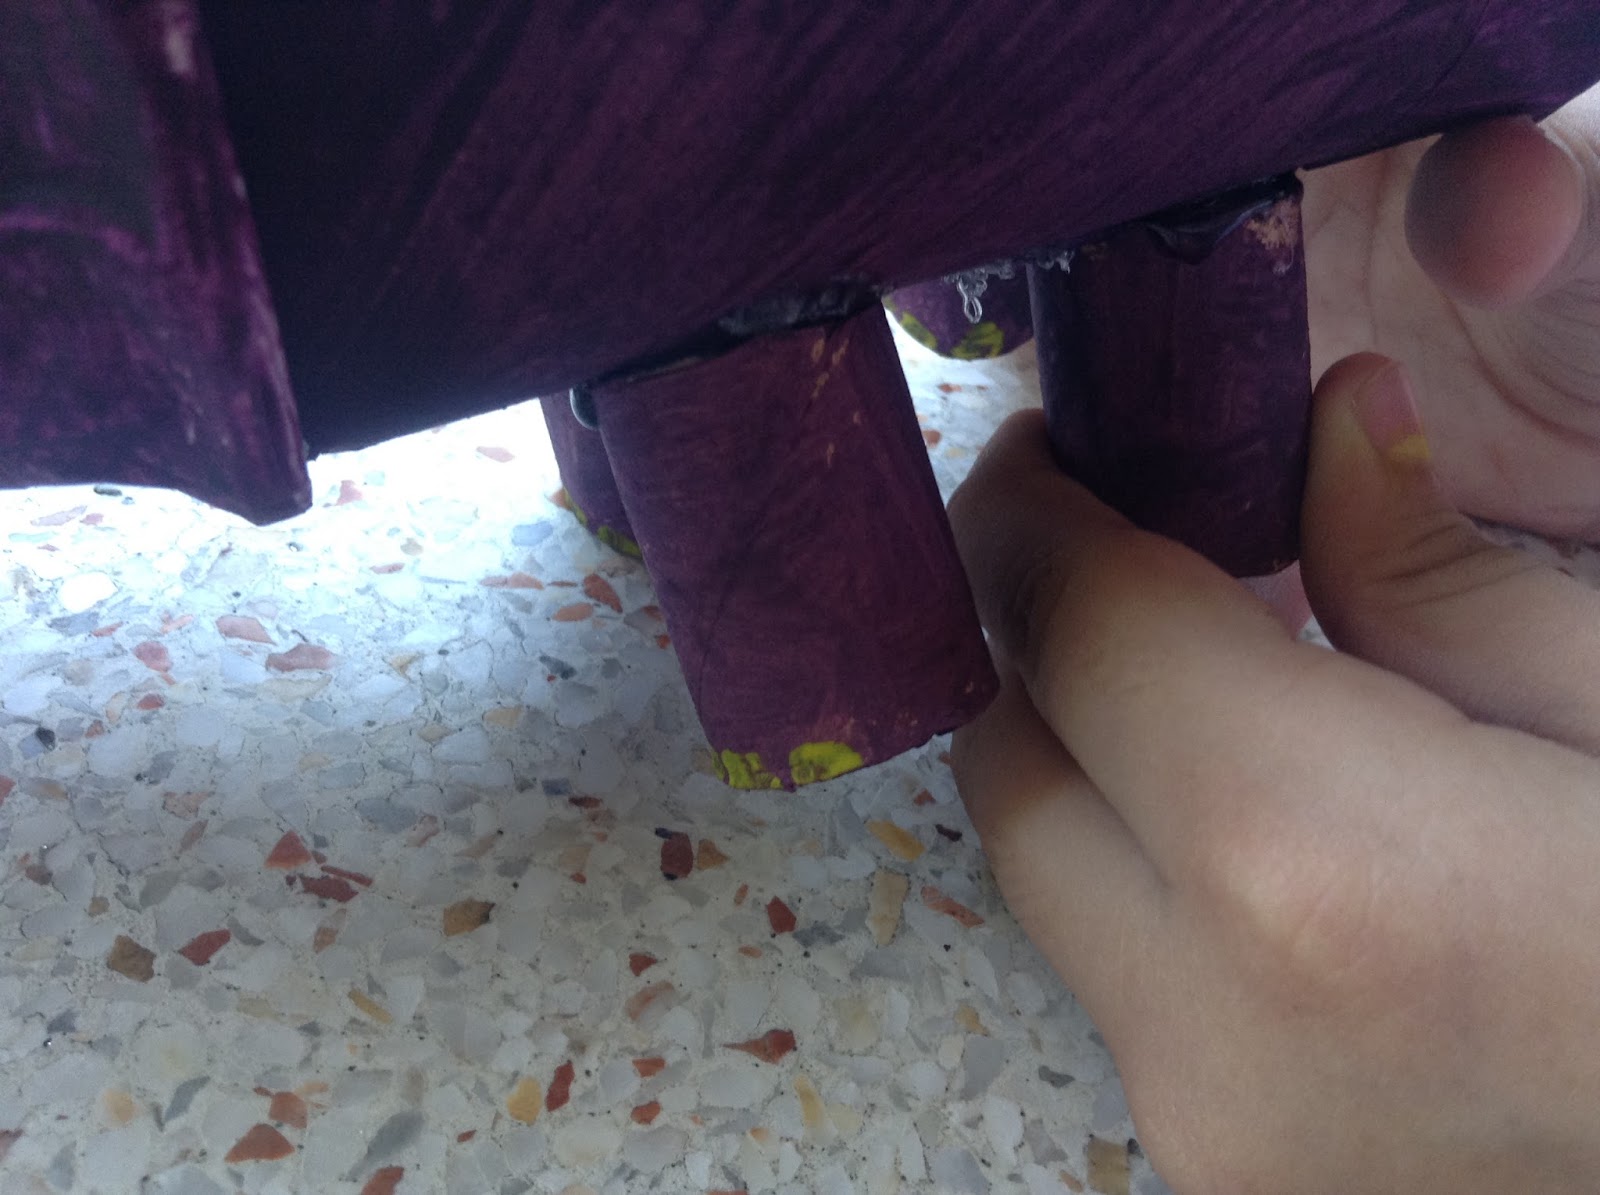
STEP #7: Next, let the child glue the tube legs one by one below the body using hot melt glue. Put hot melt glue on the spot and assist the child to glue the legs in place. Leave the legs as it is or let the child add some details at the bottom if they want using a tiny paint brush.
STEP #8: Now, it's time to glue the googly eyes. Allow the child to choose any size of googly eyes they want. Put hot melt glue on the spot and assist your child in gluing the part on it.

STEP #9: Finally to complete the look of the rhino, let the child draw some nostrils and mouth at the front using paint and a tiny paint brush.

And there goes your "disposable cup and empty can rhino", the kids can have fun with it as a toy afterwards. Get the kids creating their own version of this rhino craft today!

MATERIALS FOR THIS RHINO CRAFT
* 3.5 ml size salad or sauce disposable cup * empty paper can or tin can * white masking tape * white heavy weight paper * scissors * scotch tape * utility knife * thin cardboard tube * googly eyes * poster paints * regular paint brush * tiny paint brush * paint mixing tray * glue gun * hot melt glue
LEARNING IS MORE FUN WITH A STORY!

LEARNING IS MORE FUN WITH A SONG!
Check out "The Rhino Song" below, watch and sing with your kid(s) to its nice tune and fun lyrics that talks about the appearance and characteristics of a rhino.